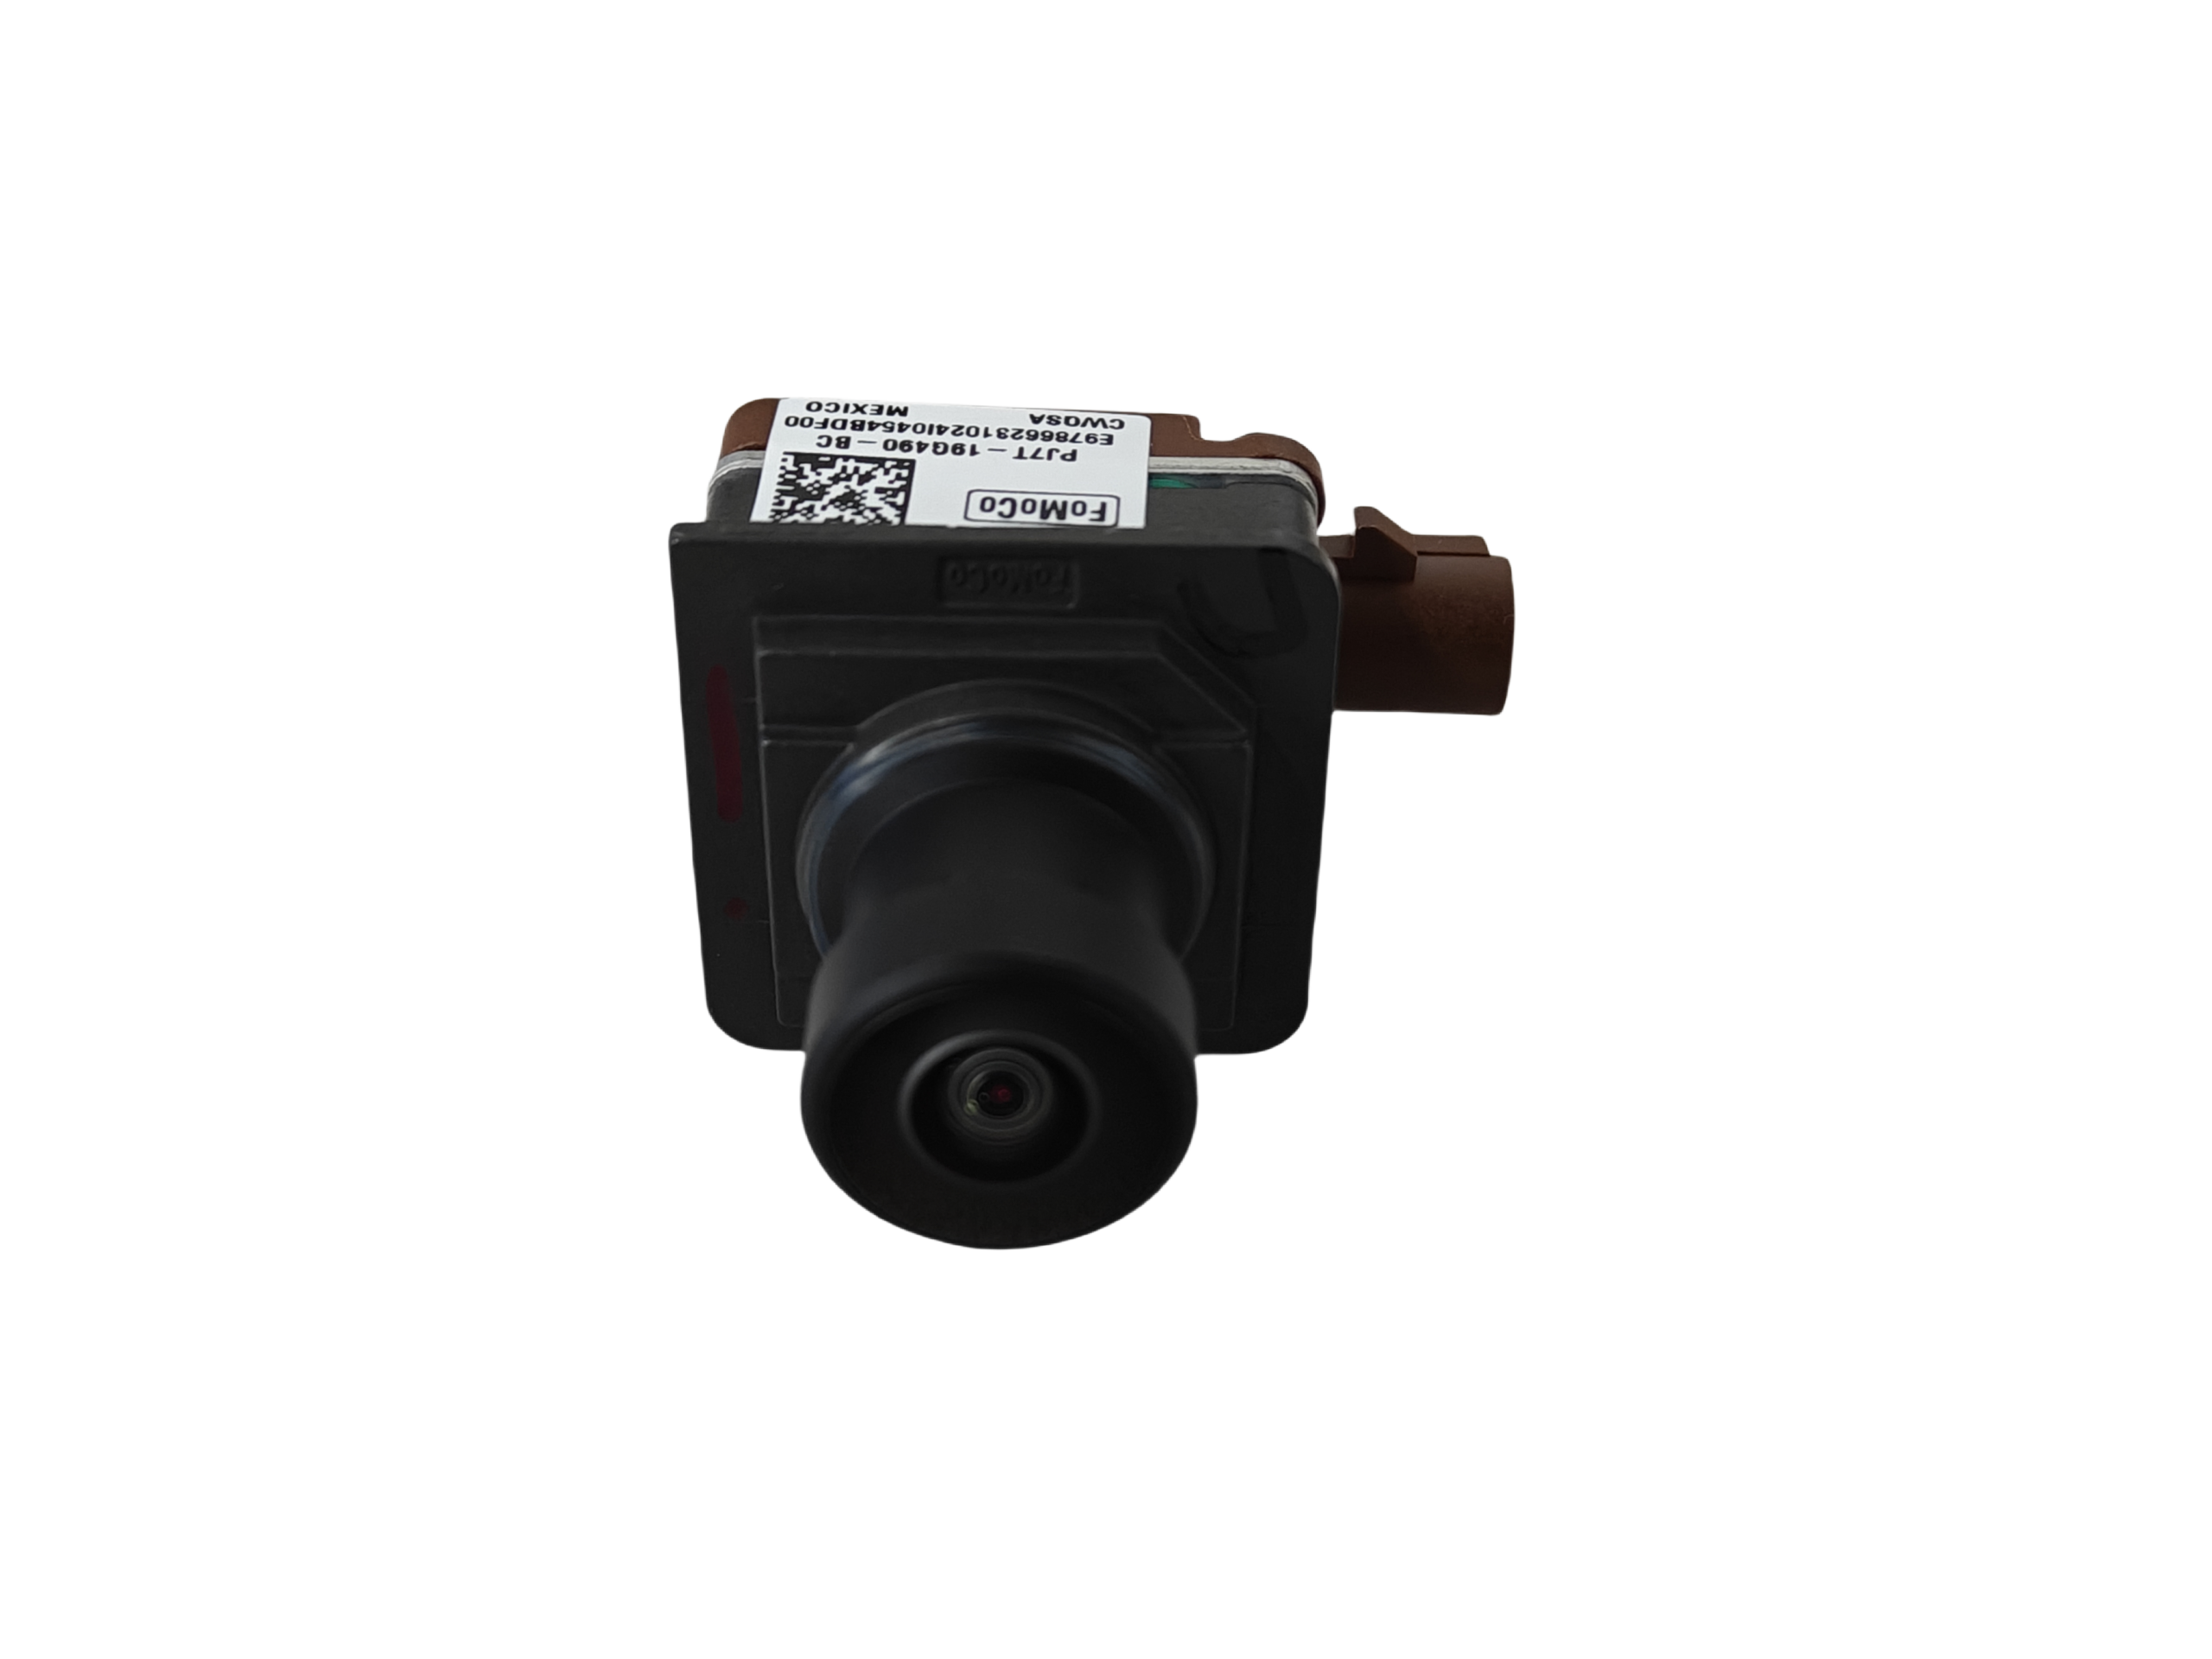
A rear view camera, also known as a backup camera or reversing camera, is an essential safety feature for modern vehicles. It helps drivers see obstacles, pedestrians, and other vehicles behind them, making parking and reversing safer and easier. If your car doesn’t come with a built-in rear view camera, you can easily install one yourself. Here’s a step-by-step guide to help you through the process.
What You’ll Need
Prepare these components for seamless installation:
- Rear view camera kit (includes camera, wiring harness and connectors)
- LCD monitor (unless integrating with factory infotainment)
- Toolkit:
▪ Phillips/flathead screwdrivers
▪ Wire strippers & heat-shrink tubing (superior to electrical tape)
▪ Drill set with step-bit (for clean hole drilling)
▪ Cable management: nylon zip ties + adhesive-backed clips
▪ Multimeter (recommended for precise voltage verification)
Implementation Phases
Step 1: Camera Selection Criteria
Evaluate these technical specifications:
- Signal Transmission: Wired systems (stable 12V power) vs. Wireless (2.4/5GHz WiFi)
- Optics:
▪ Minimum 170° viewing angle
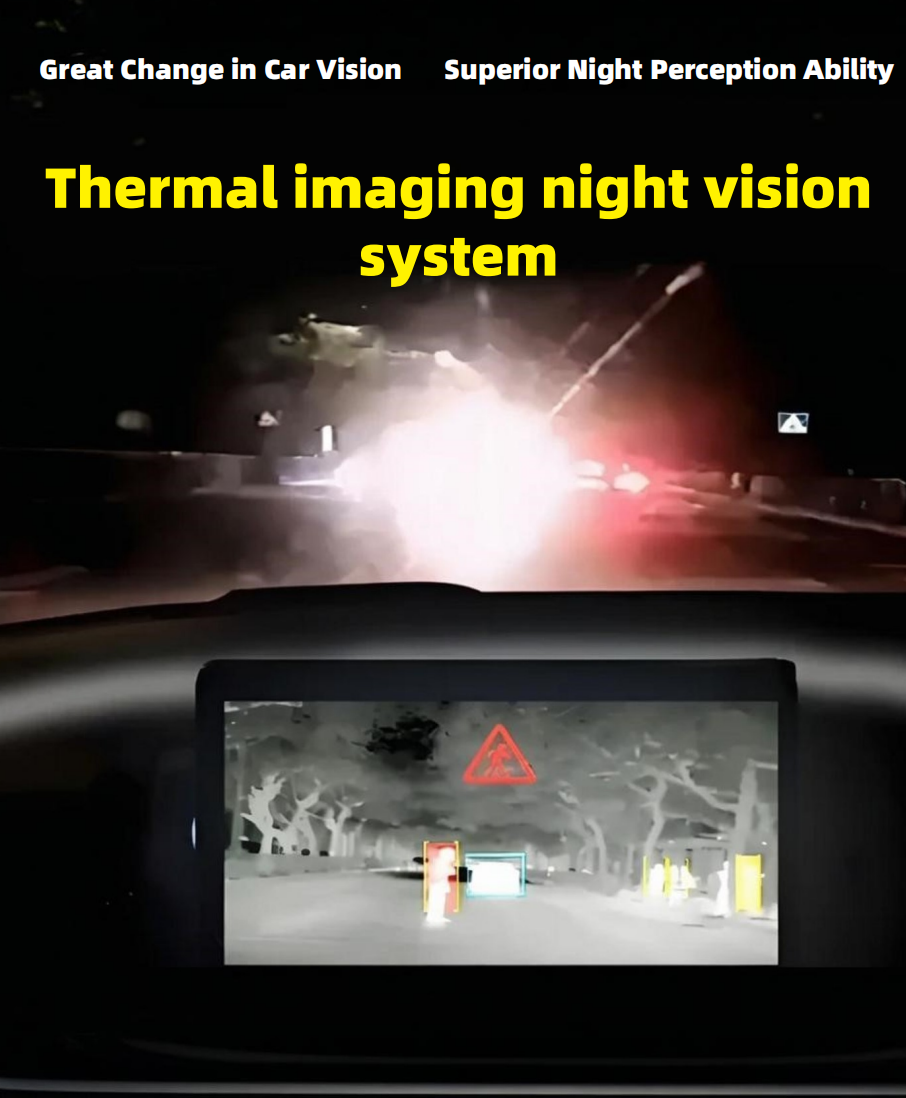
▪ Night vision with IR illuminators (6-LED arrays preferred)
▪ IP67+ waterproof rating for all-weather durability
Step 2: Strategic Positioning
Optimal mounting locations with visibility analysis:
- License Plate Bracket: Minimal body modification required
- Trunk Handle Integration: Requires OEM-style housing
- Roof Spoiler: Ideal for trucks/SUVs (drill 19mm access hole)
Pro Tip: Test temporary placement with painter’s tape before permanent mounting.
Step 3: Power Routing Protocol
1. Reverse Light Activation:
- Locate reverse light circuit (use multimeter continuity mode)
- Tap into +12V wire via T-tap connector (avoid wire cutting)
2. Signal Cable Management:
- Route RCA cables through door sill trim channels
- Maintain 30cm separation from high-current wires
Step 4: Display Integration
Multimedia interface options:
- OEM Screen: Requires CANbus decoder (model-specific)
- Aftermarket Monitor:
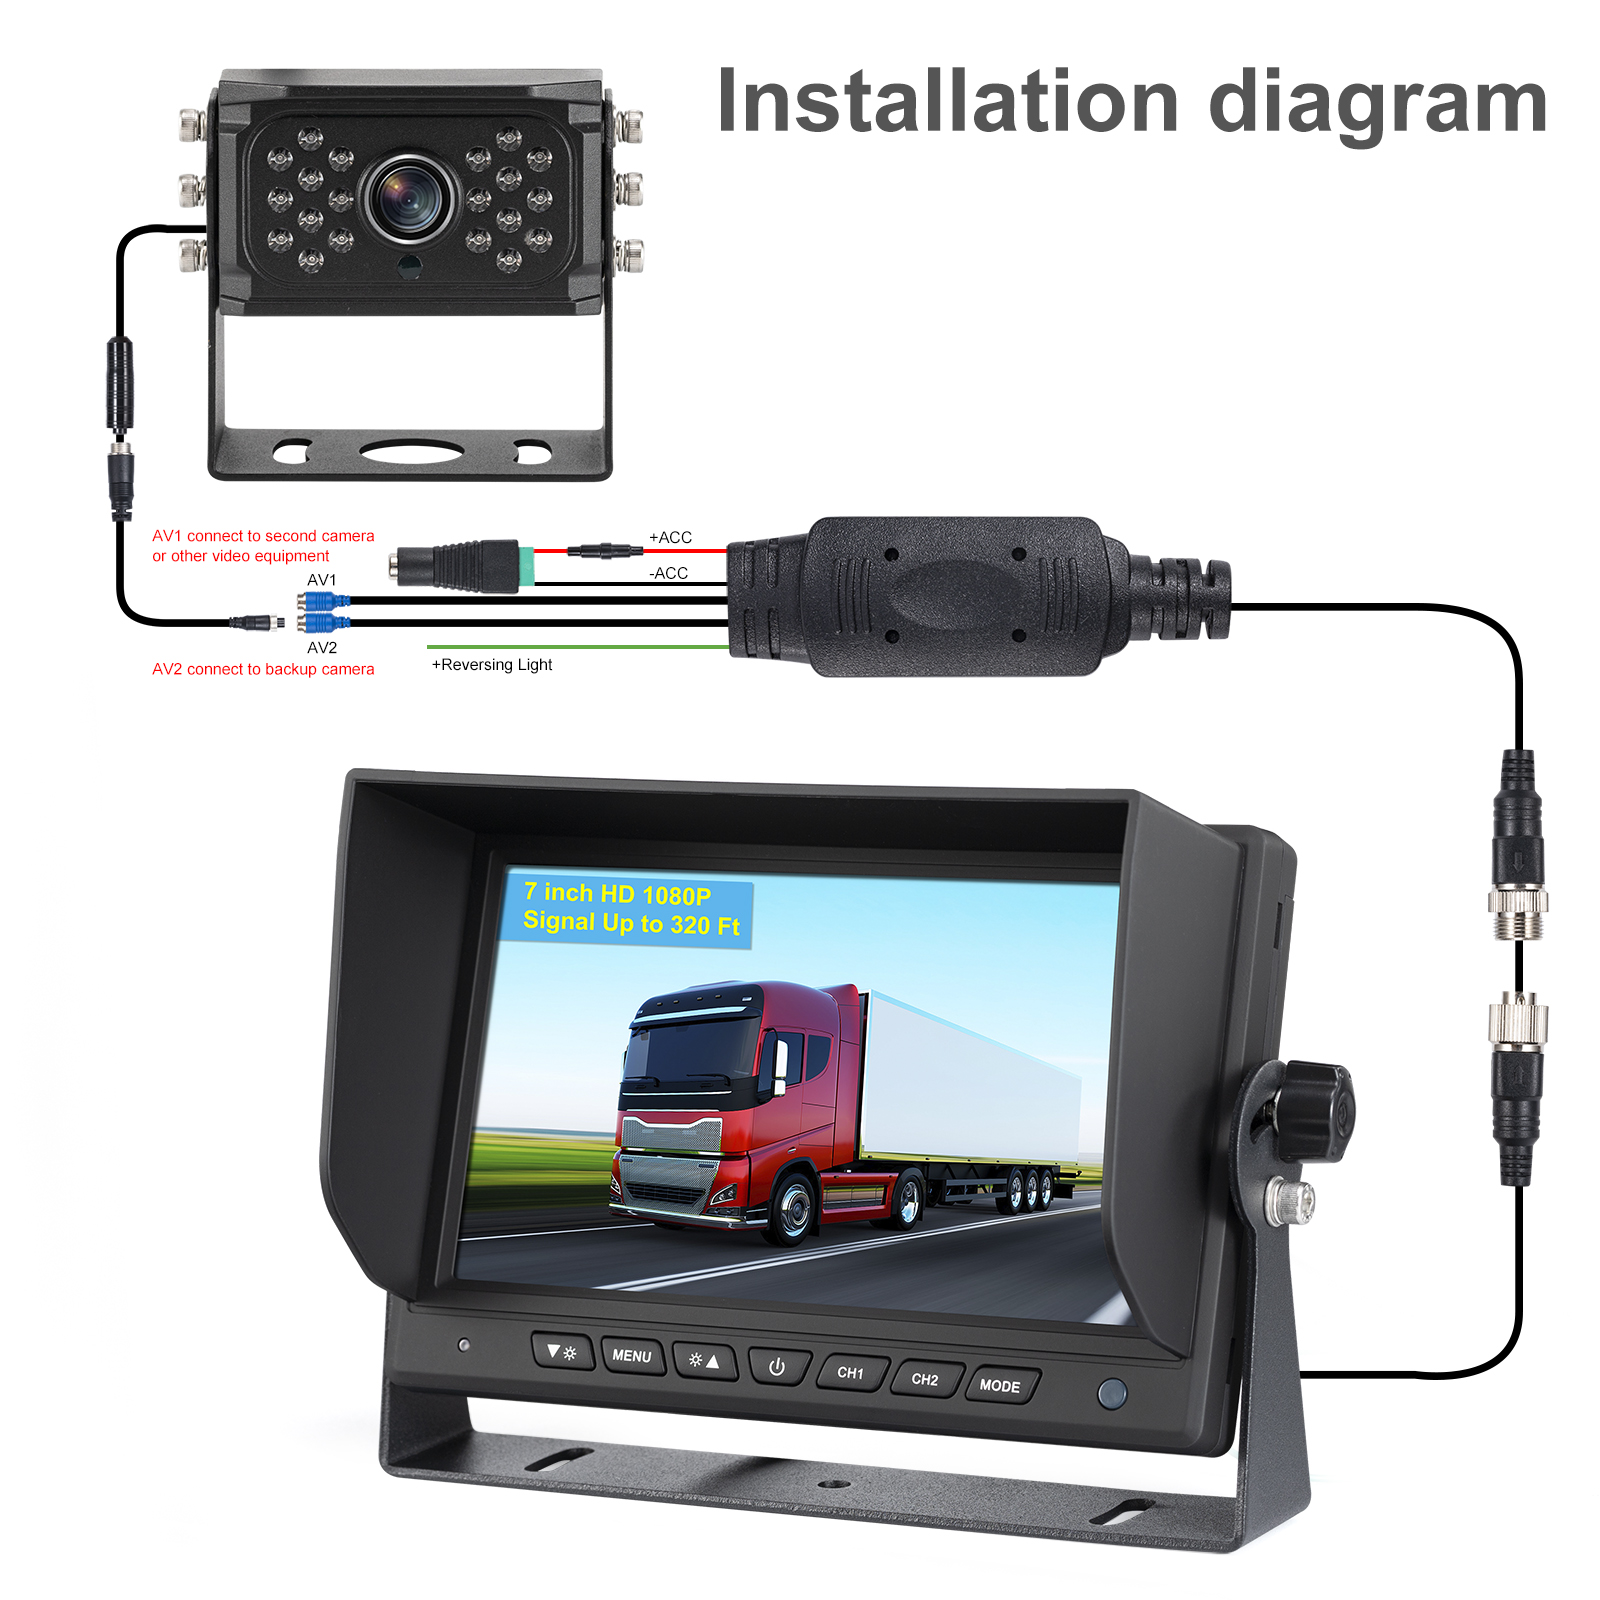
▪ 7″ HD LCD with anti-glare coating
▪ Mount via suction cup (windshield) or DIN slot
Wiring Schematic: Connect yellow RCA (video) + red (power) to ACC ignition source.
Post-Installation Validation
- Functional Testing:
- Engage reverse gear → verify <2s camera activation
- Check 3-color guidelines alignment
- Stress Test:
- High-beam headlight interference check
- Water jet test (if externally mounted)
Professional Enhancement Tips
- Use crimping tool instead of twist-on connectors
- Apply dielectric grease to exposed contacts
- Program parking gridlines via OBD-II (advanced users)
Tips for a Successful Installation
- Read the Manual: Always refer to the camera and display manuals for specific instructions.
- Take Your Time: Rushing the installation can lead to mistakes or poor performance.
- Seek Professional Help if Needed: If you’re unsure about any step, consult a professional installer.
Conclusion
Installing a rear view camera is a straightforward process that can significantly enhance your driving safety. With the right tools and a bit of patience, you can complete the installation in a few hours. Whether you’re a DIY enthusiast or a first-time installer, this guide will help you add this valuable feature to your vehicle. Enjoy the peace of mind that comes with a clear view of what’s behind you!